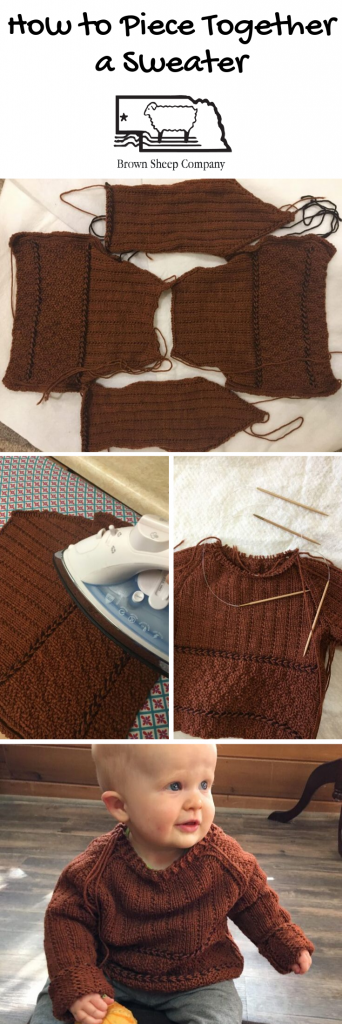
How to Piece Together a Sweater
Finishing work gets a bad rap among knitters, sometimes – but it’s actually the most satisfying step! You get to see your project transformed from 2-dimensional pieces to a 3-D finished object.
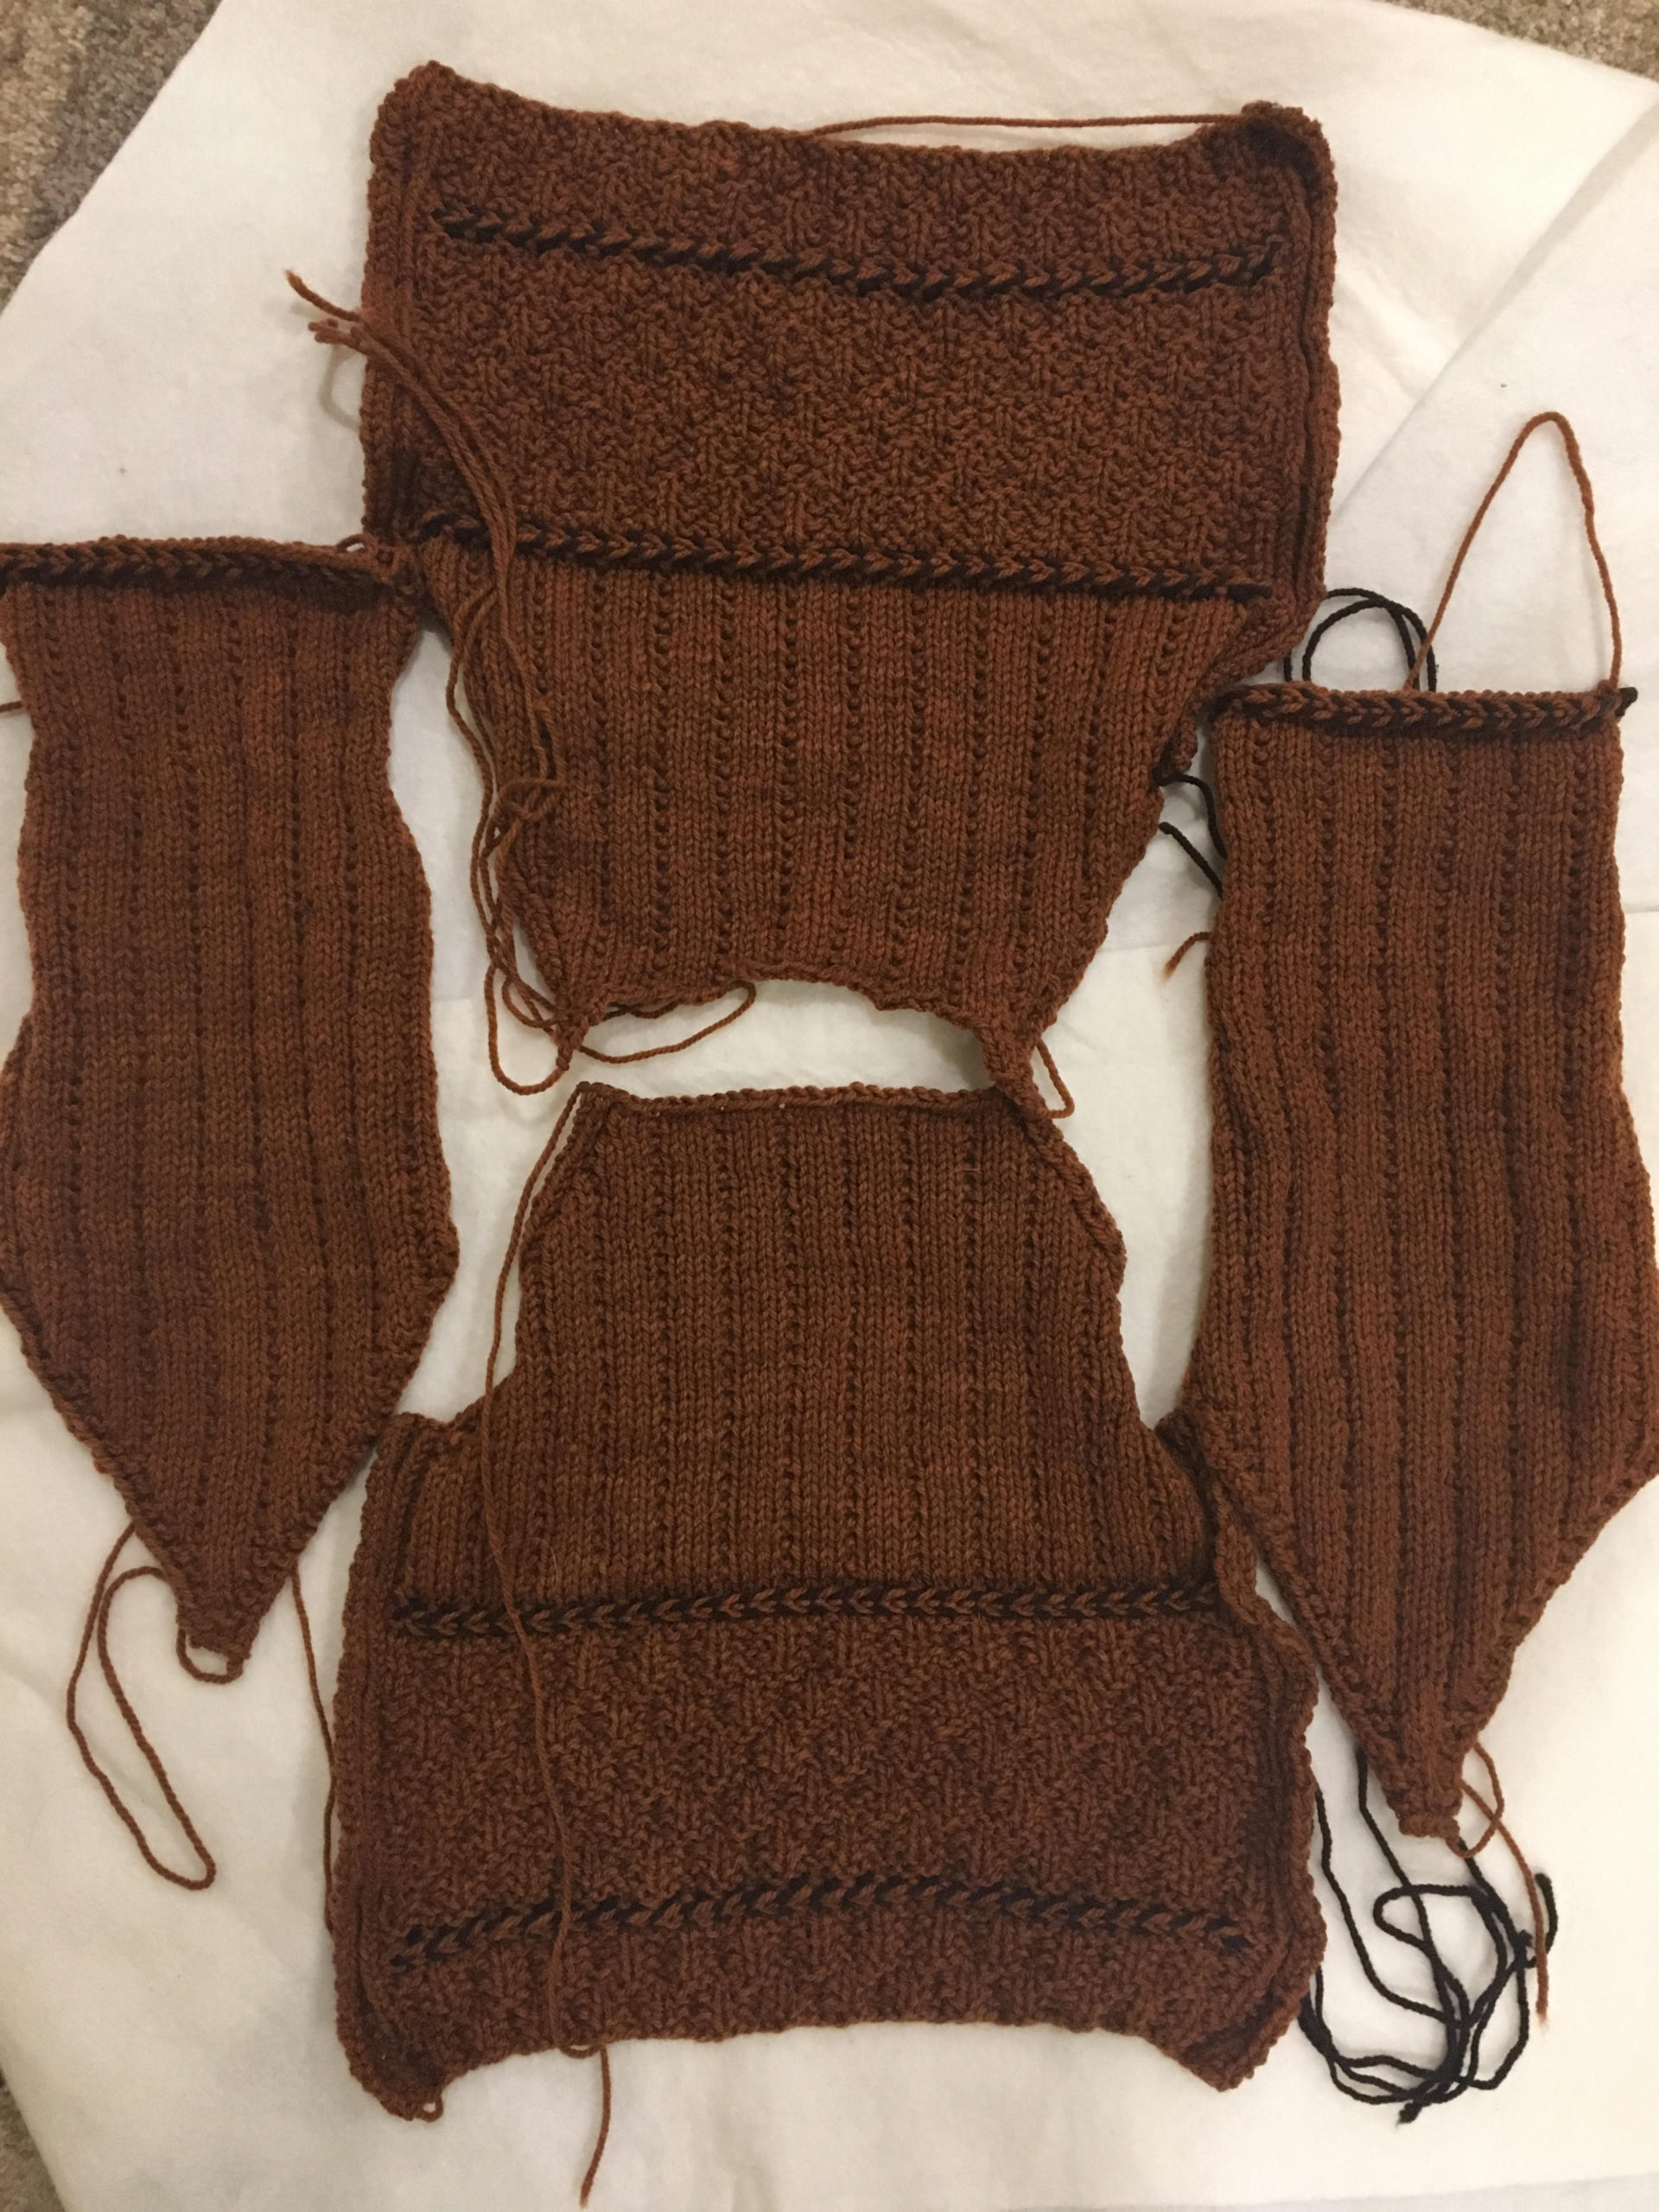
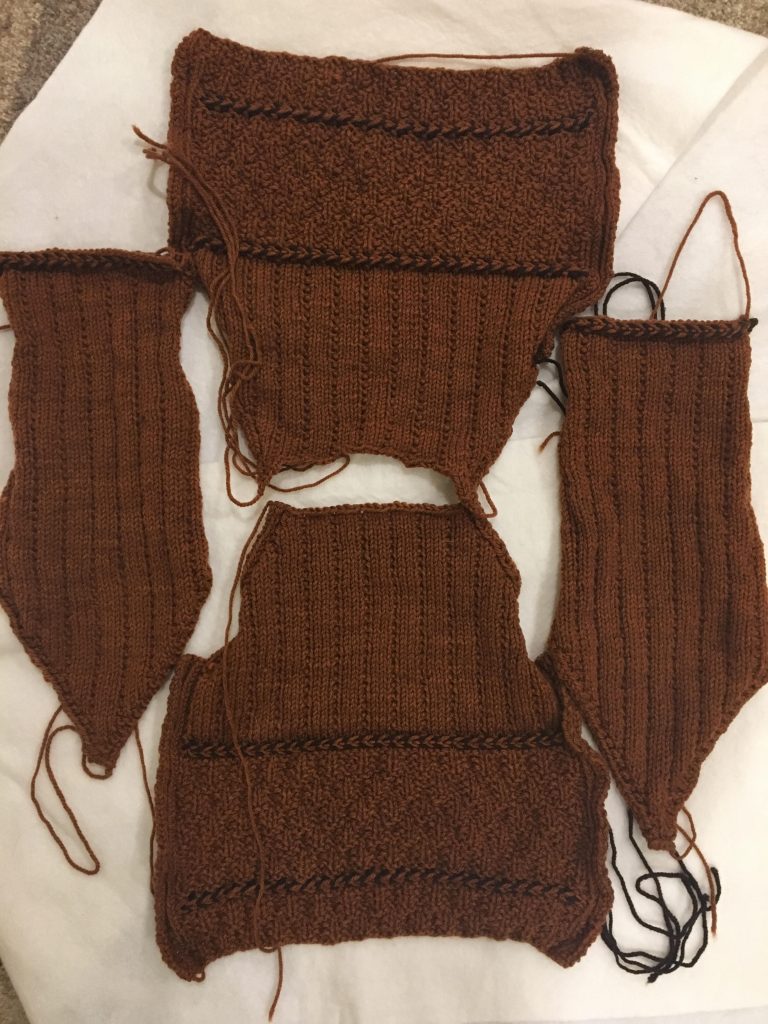
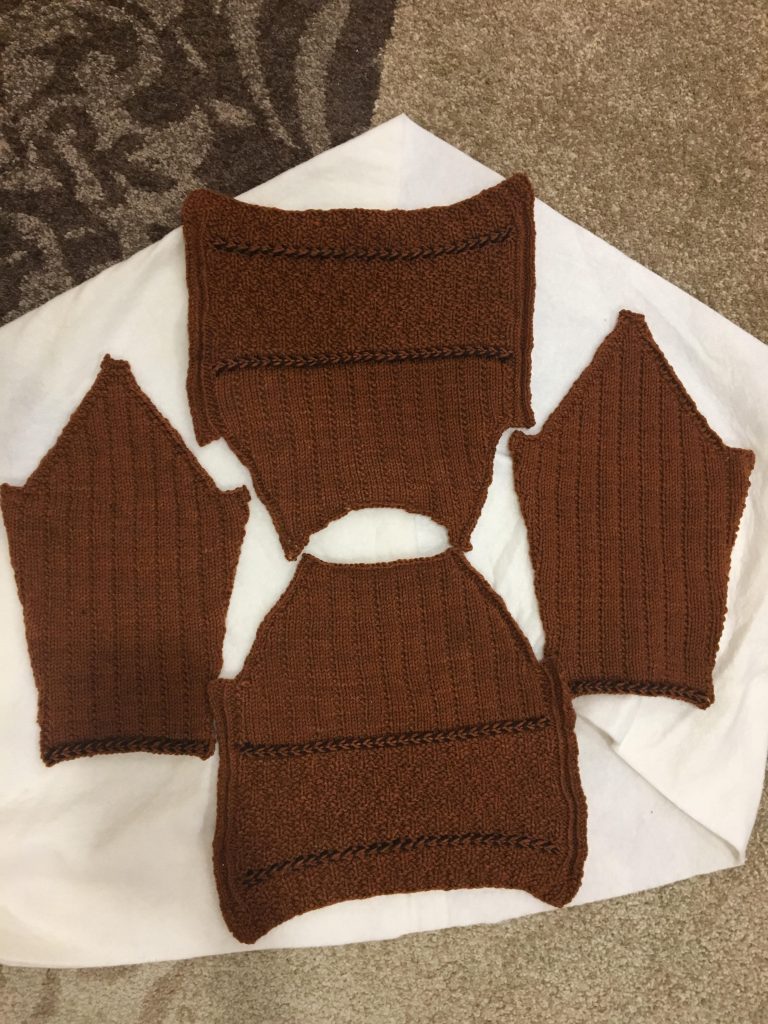
In this tutorial, we will walk through the process of piecing together a sweater consisting of components that have been knit flat: a front, back, and two sleeves.
Grab a cup of coffee, a tapestry needle, and your leftover yarn! The first step is to weave in all the ends from your knitted pieces–you’ll want to do this now so they don’t get in the way as we begin piecing together.
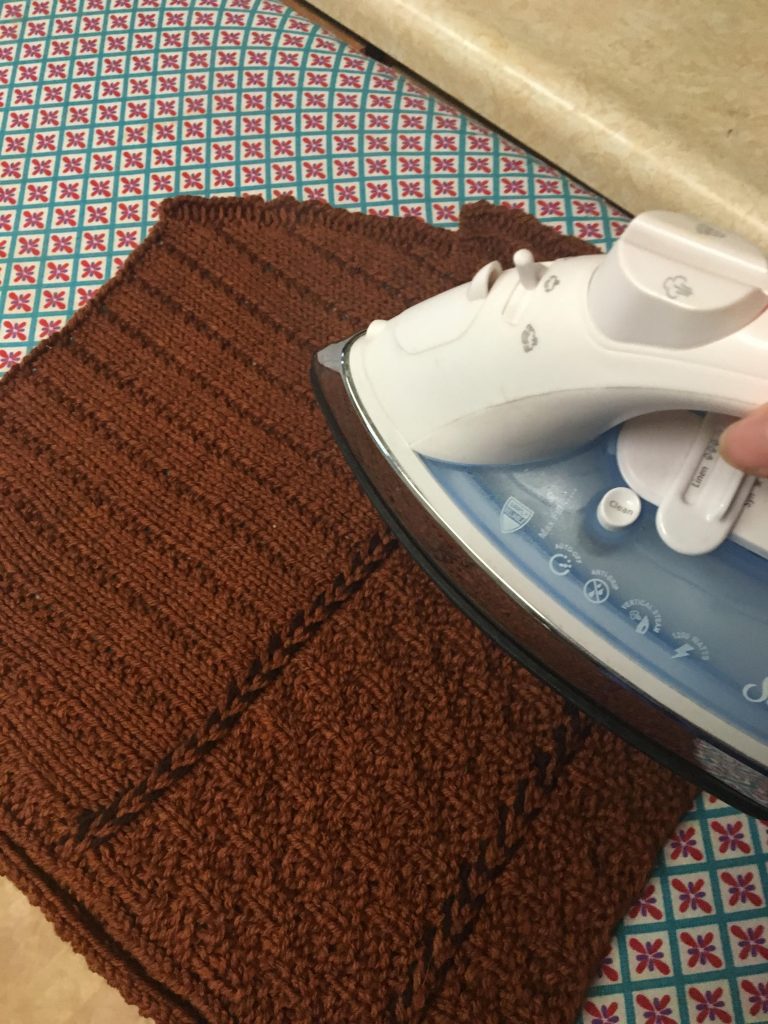
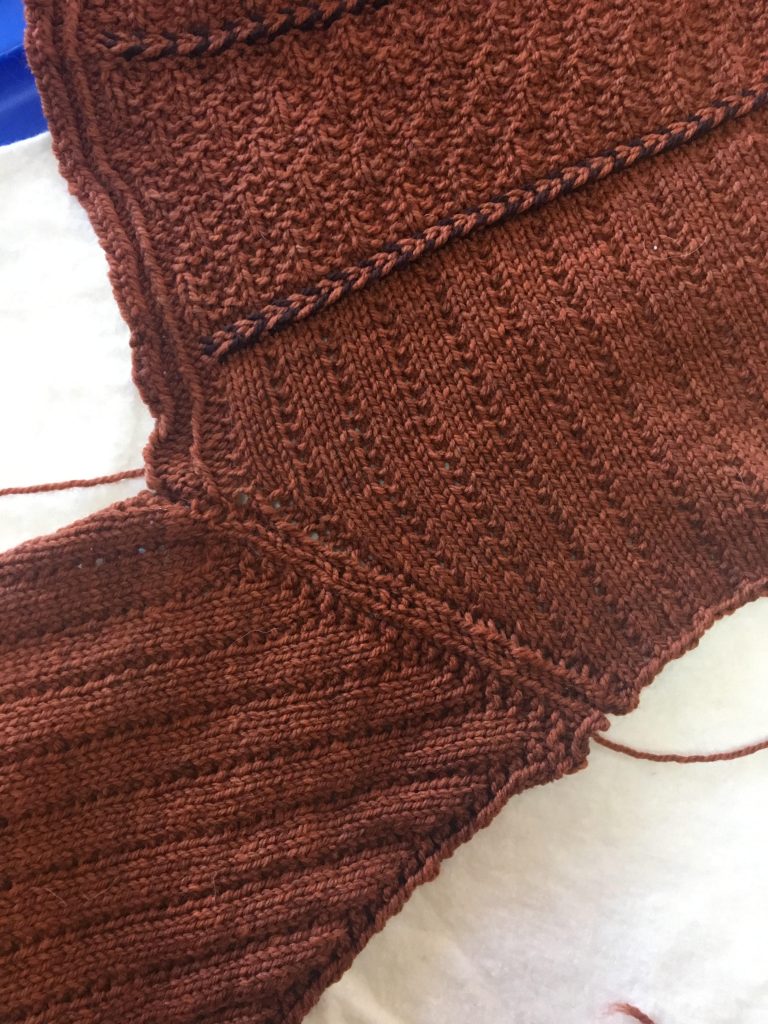
Next, we will steam block each piece. The purpose here is to flatten out the pieces so that we can easily align the edges. Set your iron on its highest moisture setting and simply hover the iron over the pieces with steam– don’t actually iron the pieces, just use the steam to help them flatten out, focusing especially on any curled edges. Steam blocking does not need to be perfect – this shouldn’t take any more than 5 minutes but will make the next steps easier.
To join the pieces, we will use the mattress stitch with a tapestry needle and a length of your project yarn – the yarn should be about 3 times the length of your edge. This fun and simple stitch creates a nearly invisible seam joining two edges. It’s much easier to see how this stitch is done with a video tutorial – here is a link to a Mattress Stitch Tutorial by Alexis Winslow.
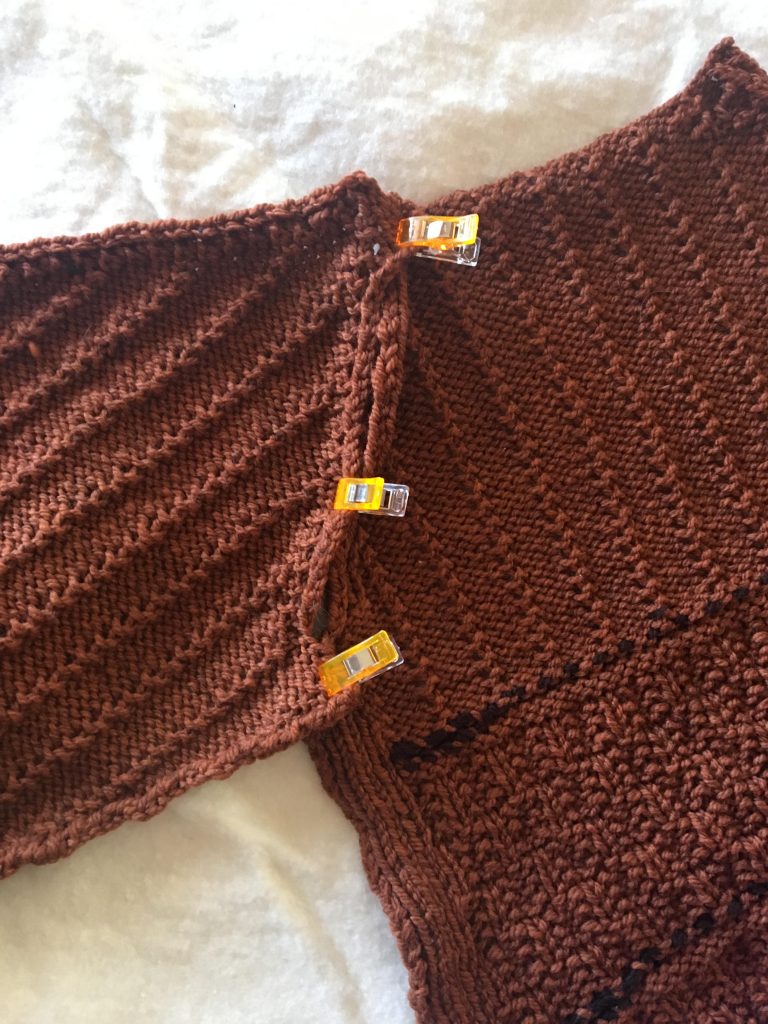
Align the right sides of your two pieces – it’s helpful to mark or join (I used Wonder Clips) at each end and in the middle.
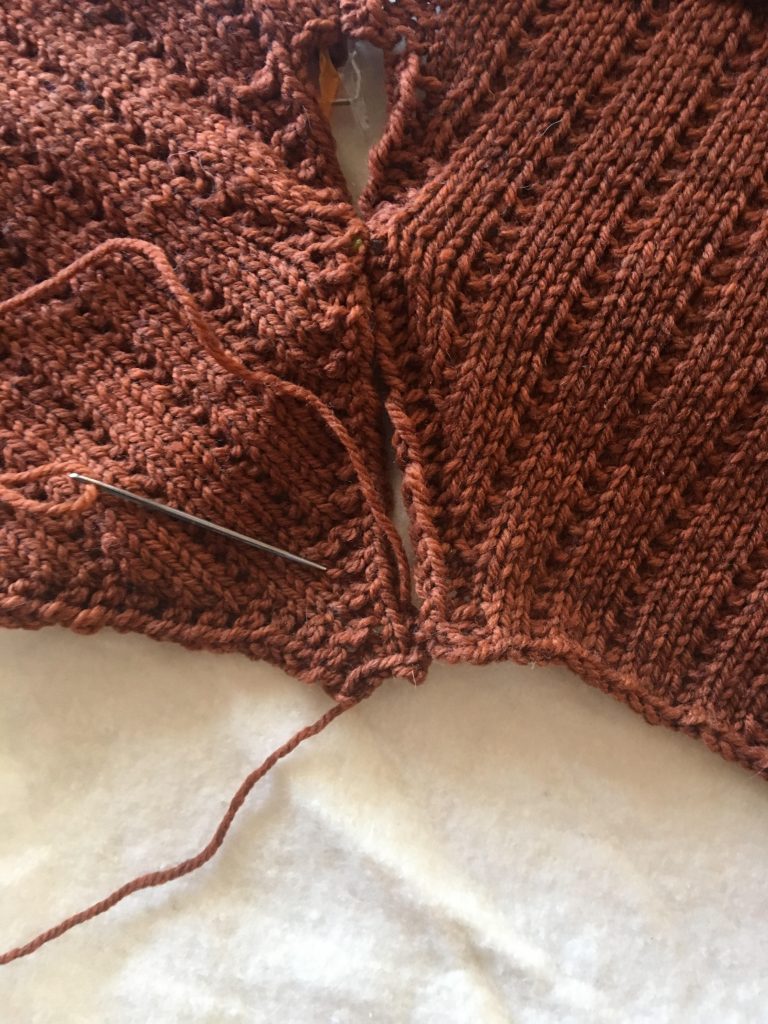
Begin by joining one sleeve to the back. We’ll work the mattress stitch from neck down to armpit, making sure to stitch with the right side facing to ensure the seam is invisible. Next, join the other sleeve to the back and finally the front onto each sleeve.
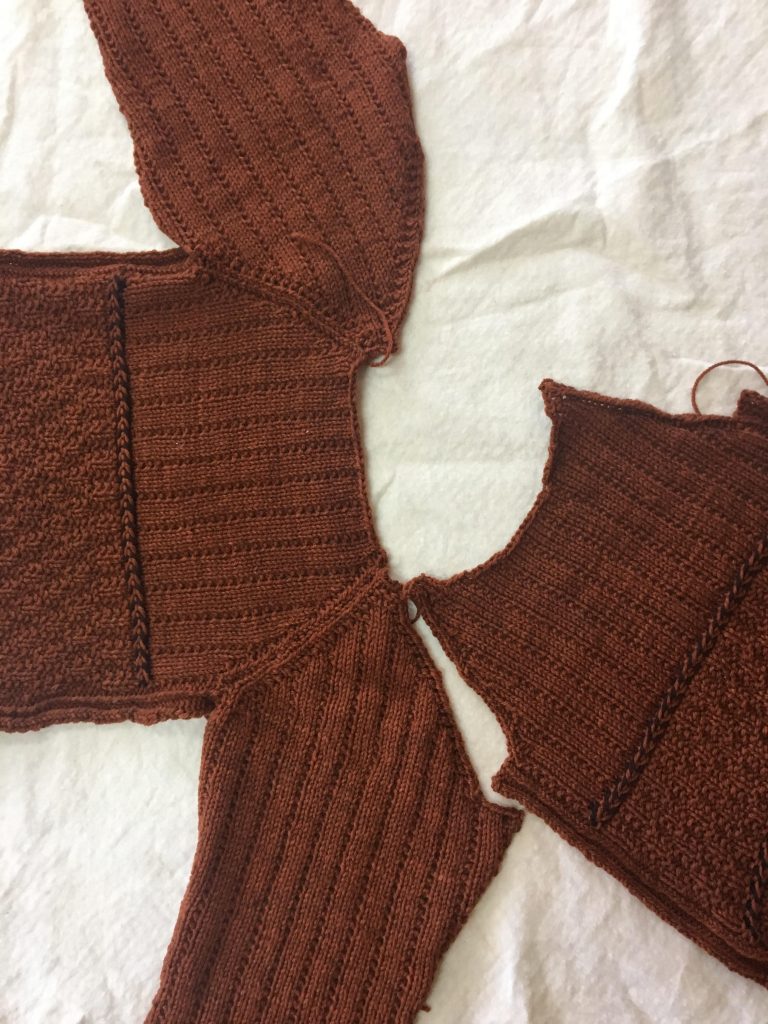

Last, stitch up the sides, starting at the bottom edge and working up toward the armpit. We hope the pieces align perfectly, but just in case there’s a tiny bit of bunching up or imperfection – we’d rather have it end up in the armpit!
Finally, it’s time to pick up stitches and knit the neckline, or any other finishing details your sweater might require. When picking up stitches, twist every stitch as you knit the first row to avoid any gaps. Especially since I’m knitting this sweater for a baby, I wanted the neck to be very stretchy so I used Jeny’s Surprisingly Stretchy Bind-off.
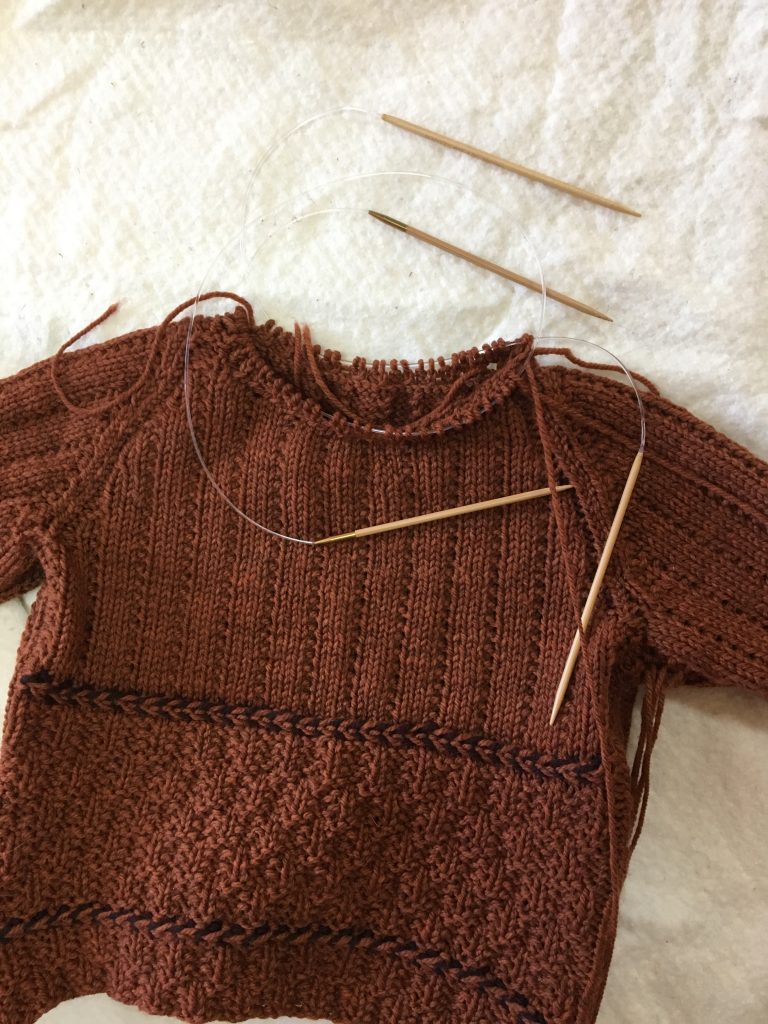
Now is a good time to try the sweater on your recipient to make sure the neck isn’t too tight.
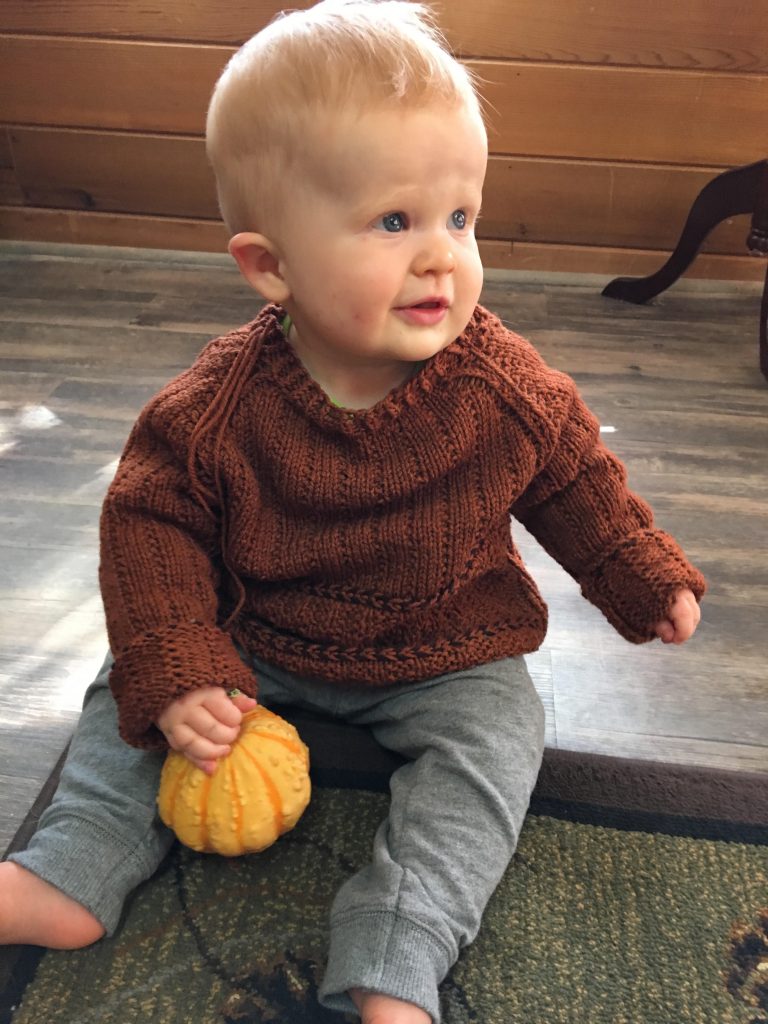
There are a few ends to be woven in from our mattress stitch seams. To complete your masterpiece, go ahead and wet block the finished sweater in a water bath – just let it soak for about 20 minutes in lukewarm water, then lay flay in the EXACT shape and size you want the sweater to be – and don’t touch until it has completely air dried! Voila – you have created a sweater.
Like this pattern? Pin this post to save it for later – we will be releasing it in all sizes, from child to adult, shortly so keep an eye on our website. Happy knitting!